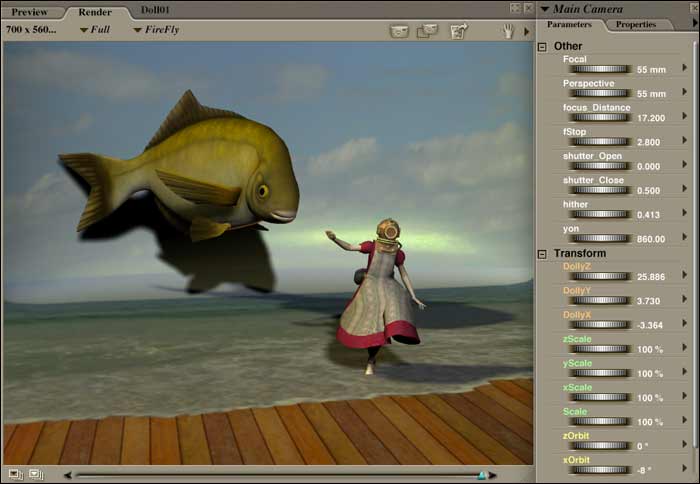
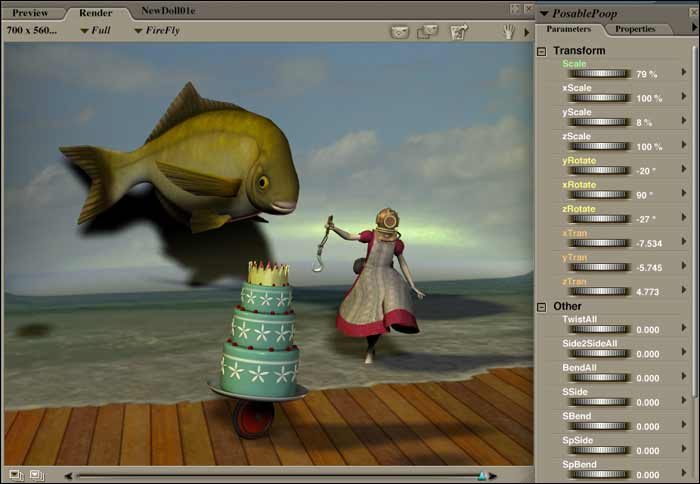
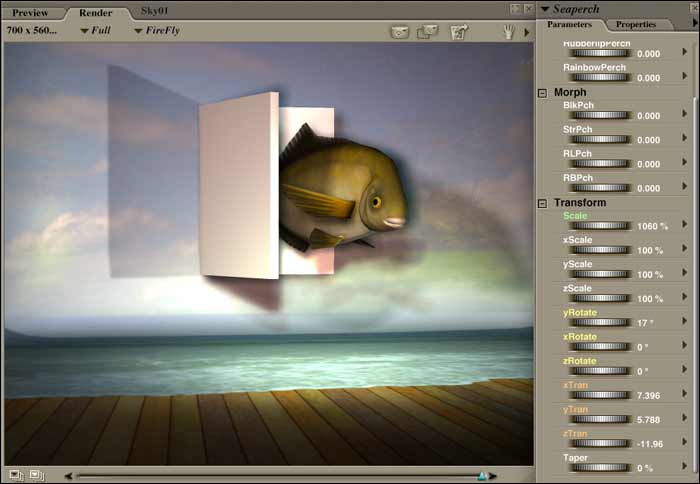
| Yesterday (Saturday, February 9, 2013), while examining variants of Painting #1148, I looked at the sky. This image is set up so that the sky looks and feels like a fake backdrop. The shadow of the fish offers this illusion more than anything. As I looked at the image, I thought of a door in the sky, behind the fish, half open, so that one could see behind the sky itself. |
 |
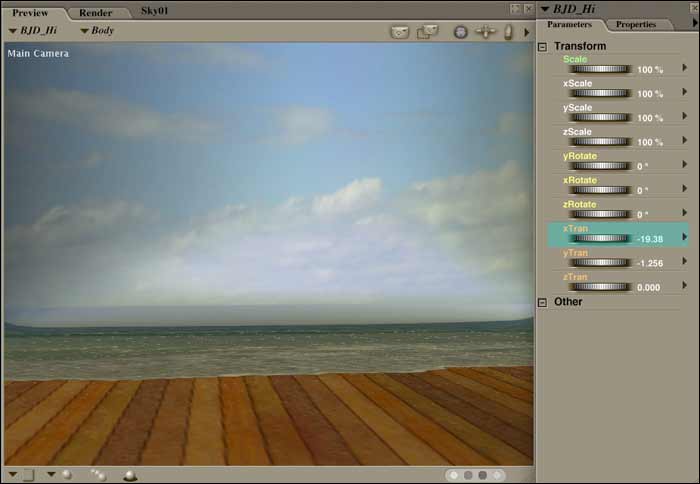
| Idea - This door concept is a good one I should try on the background alone. This background is the Cyclorama with a Texture Map on it. I think the door idea is one that would have to be done in Photoshop, much like the head surgery on the Figure's heads. I think the way to do it would be much like I did by using the Pipe in the Head Surgery. I would attach a door made from a Primitive Cube to the area I wanted to "Doorize." |
| I actually think this would better be done on a different set, one that had a solid background and solid foreground. I think this would allow more options concerning the use of the front. But of course, if the technique is going to involve Photoshop, then it doesn't matter which technique is employed. |
| 1. |
I'm going to open this current Painting, |
| |
 |
| 2. |
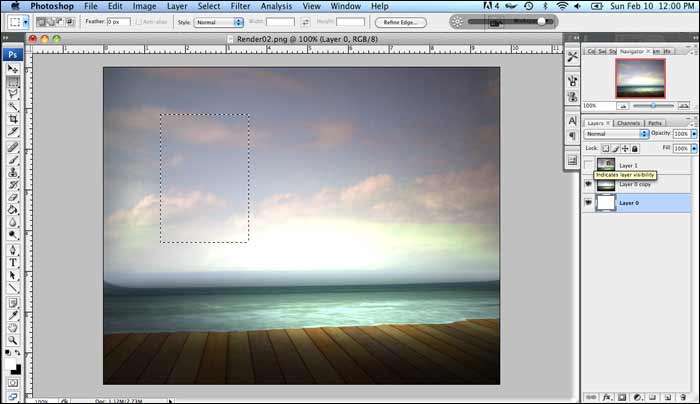
I then eliminated everything in it but the Cyclorama. I'll resave this Cyclorama as sky01 in the Project Folder. |
| |
 |
| 3. |
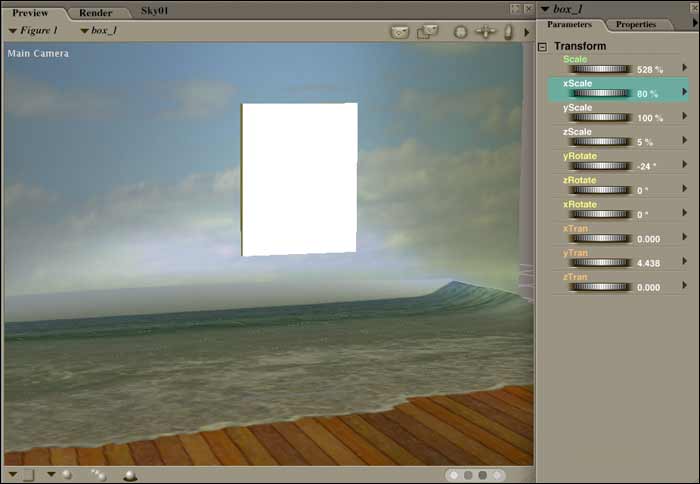
I need to create a Placeholder Door and Opening (window). I start with a Primitive Cube. |
| |
 |
| 4. |
I'll scale this to a size the works for the opening (window). |
| |
 |
| 5. |
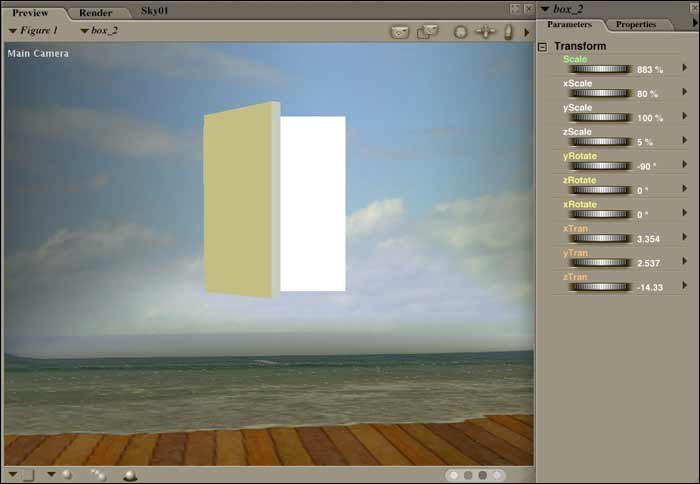
I'll duplicate this and set it up as the door. |
| |
 |
| 6. |
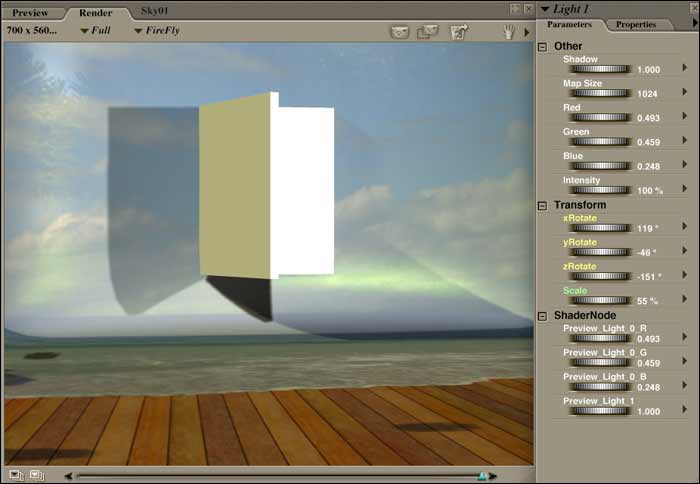
I need to have the lights projecting a bit of a shadow from the door, so I'll start adding some Spotlights to the scene. |
| |
 |
| 7. |
I'm going to remove all the Default Lights and just work with added Spotlights. |
| |
 |
| 8. |
I'm still not getting the lighting I want. |
| |
 |
| 9. |
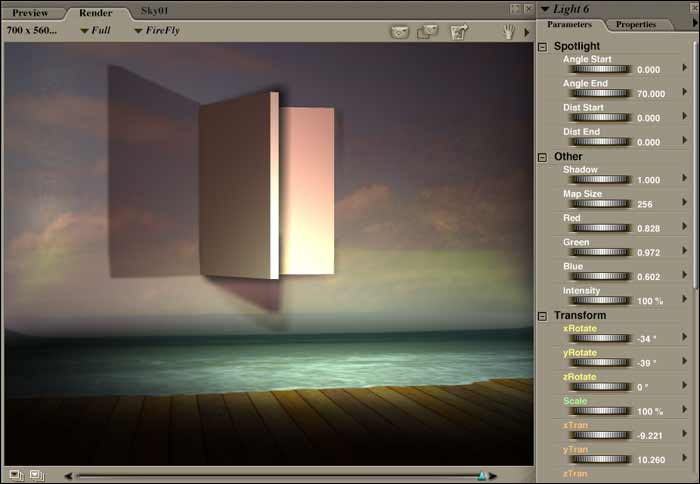
I'll keep the Lighting I have and add the Fish. I'll arrange it so its coming through the Placeholder window. |
| |
 |
| 10. |
I'm playing around with the Lighting once again. |
| |
 |
| |
Okay. I have the parts in the set that need to be manipulated in order to make this happen:
- Cyclorama
- Door & Opening
- Fish |
| |
In order to move this into Photoshop, it would seem I need the following:
Render01 - Cyclorama Only
Render02 - Cyclorama with Door and Opening |
| 11. |
I'm going to start with the following Renders:
Render01 - Everything - Cyclorama, Door, Fish
Render02 - Cyclorama Only |
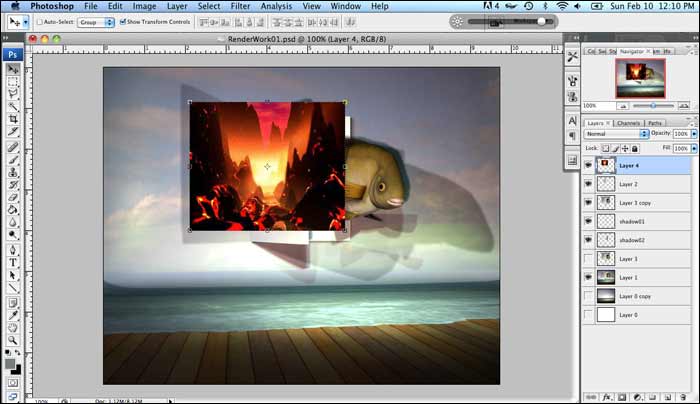
| 12. |
In Photoshop, I started with the set only. I selected a piece of the sky that I'll use as a cutout for the door. |
| |
 |
| 13. |
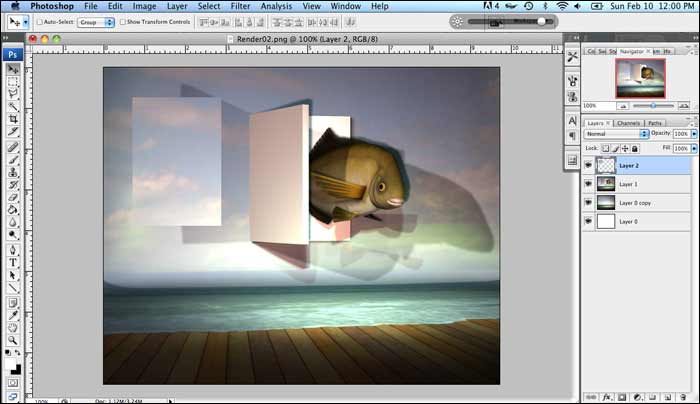
I'll place this cutout above the full set. |
| |
 |
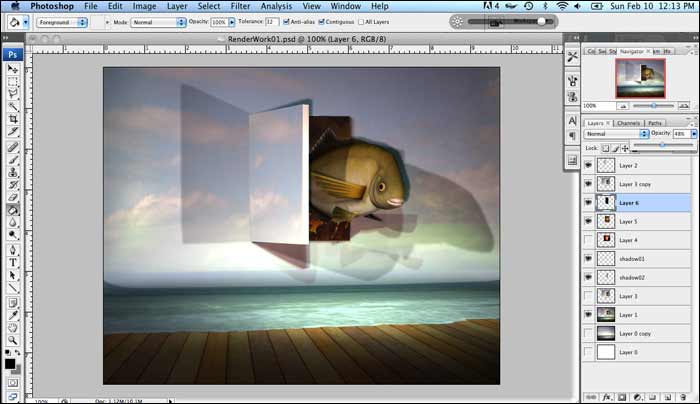
| 14. |
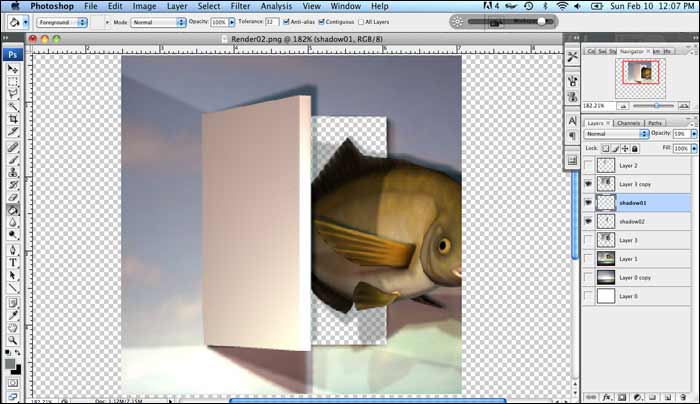
I cut a section out of the Full Set so I can cut the window section out. I used the Polygonal Lasso Tool |
| |
 |
| 15. |
I turned on the Full Set under this cutout. I'm going to slide some background under this cutout section. |
| |
 |
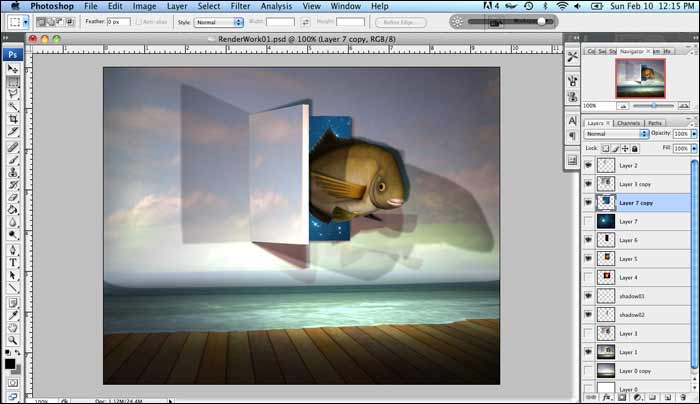
| 16. |
Put it in the proper layer, and then used Distort to arrange the sky cutout piece over the Door. |
| |
 |
| 17. |
I changed the background image under the window. |
| |
 |
| 18. |
I think I'm going to leave it here for now. |
| |
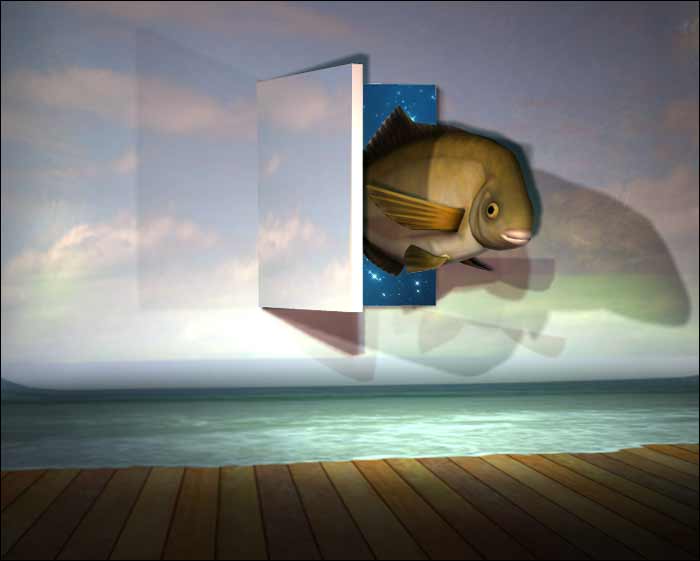 |
| |
This was an interesting trial, but I'm not sure anything productive came from it. An RSR (Richter Squeegee Run). This image above is far too crowded in the sky entrance window. It is hard to really know what is going on here. |